- Ping Xiang ChengPin Technology Co.,Ltd
-
Pingxiang, Jiangxi, China
- Main Products: voice coil, miniature coil, inductor coil, bobbin coil, transformers, inductors, wireless charger coil, trigger coil, inverter transformer etc, precision coil, air core coil, plastic parts, TV transformer, RFID Anenna Coil, RFID COMPONET, Transformer for Car, Power inductor, Sensor, Commonmode Choke Toroid Inductor Hearing Aids Coil
-
 liu luvian
Hi there! Welcome to my shop. Let me know if you have any questions.
Your message has exceeded the limit.

How to measure the High Precison Miniature Coil
2023-04-21 17:34:39
The High Precision miniature coil Measurement Way
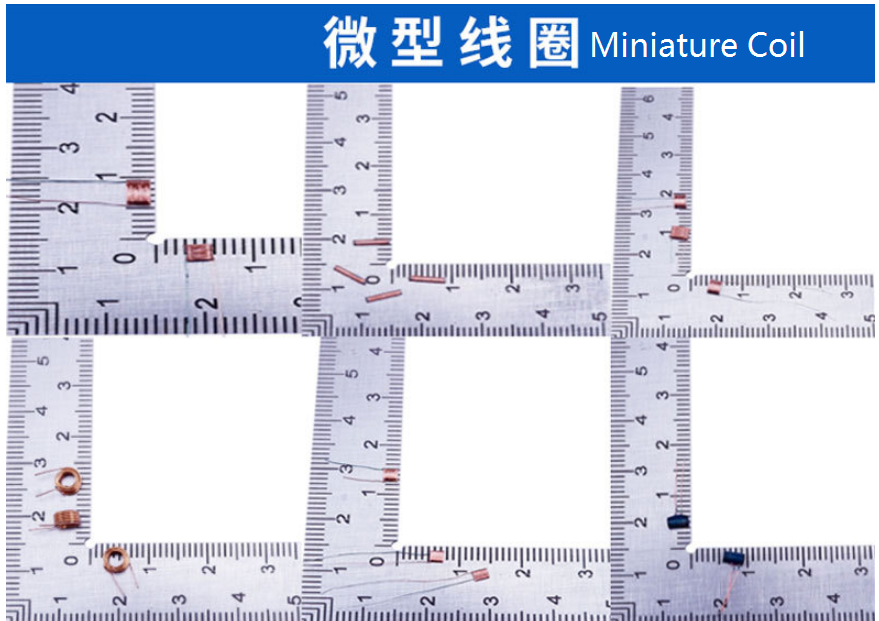
The miniature coil is so small to see and compared,then how should we know it's size is correct ,how should we know it's dimension for different side?
What is the miniature coil?
Miniature coils made with Ultra-fine wire winding are quickly growing in popularity in the medical device industry.
With gauges ranging from AWG 45 (.0018”) to AWG 60 (.000309”), these wires can be as small as 1/10th the diameter of a human hair, allowing for noteworthy miniaturization in charging and receiving devices.
From above,we can know it is significant for the high precision device used on medical/Aerospace Engineering etc high technology industry.
So,more better the miniature coil is which served as one components(whatever on it's performance/size/inductance/resistance etc)the better for it's finished products.
Then how should we keep it's correctness at least on the size?
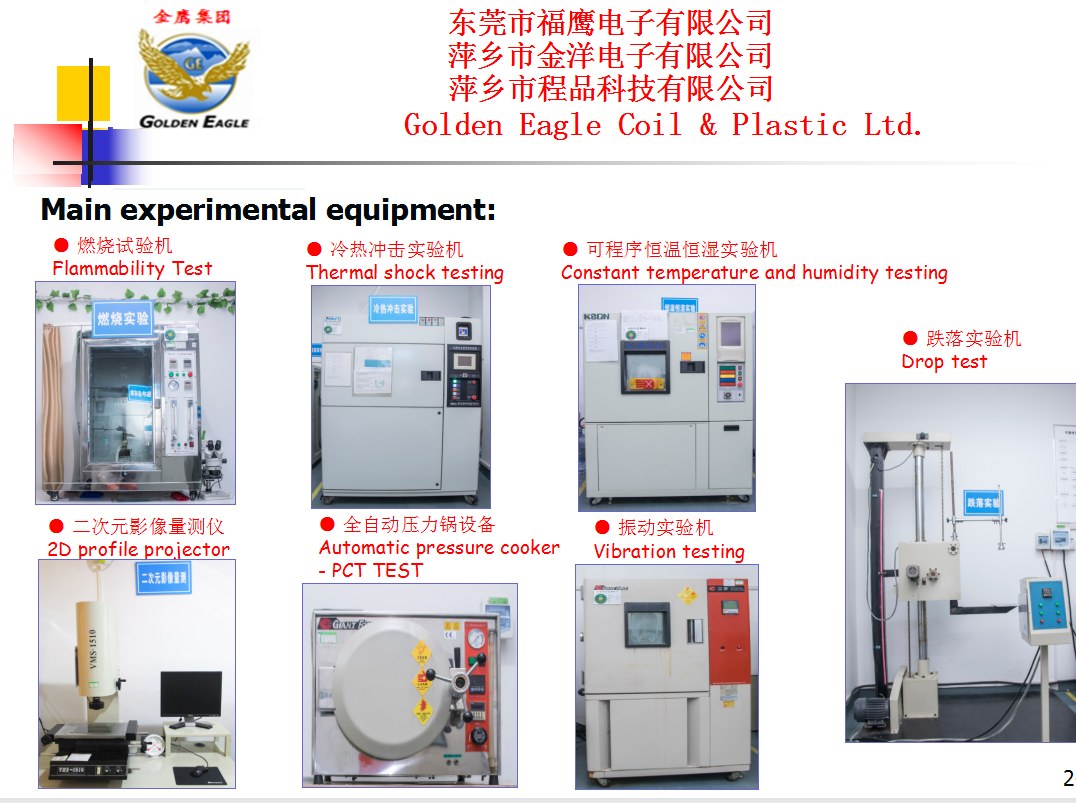
We will used the projector to measure the size from different dimension with other small tools.
OK-first introduce who are we:
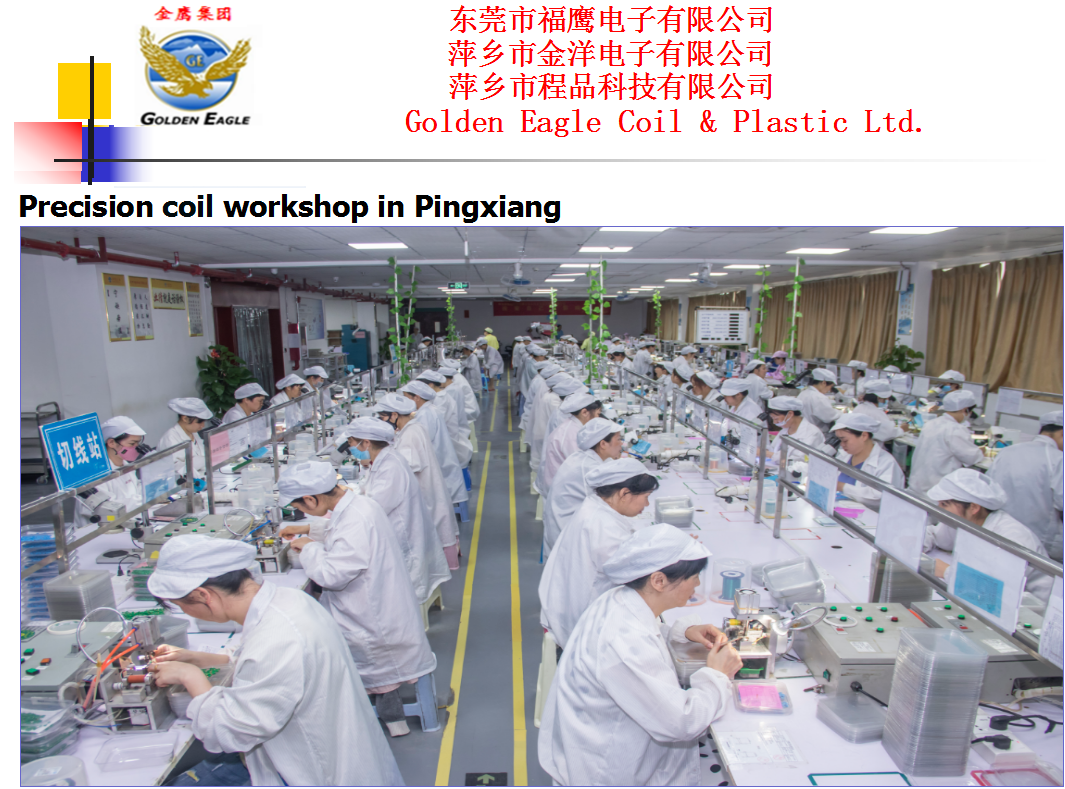
Our ChengPin factory are specializing in the miniature coil for Hearing Aids/Medical Device and other high precision coil for over 18 years.
Can winding AWG56-57(0.0119)Wire with our wet winding technique which can hardly do in China Miniature coil factory
With patience and technique and machine,there are less than 3 factory can do this in China.
Own more than 800 experienced workers and advanced automatic machine and imported serve tensioner.

Here we will share the way that we used
1: Prepare
1# elastic press sheet、2# work turntable 3# y axis control handle. 4# reflectorlamp control switch 5# power switch、6# transmission lamp strong rank lamp 、7# rejects red tray、8# screen sheet 、9# Z axis control handle、10# X axis control handle、11# objective lens 、12# data display screen、13# projection screen Fine-Tuning rotate handle、 14# projection screen 、15# .data display screen switch
2:Check and test before projection:
a:turn on the projector power switch,put a glass grain rule on the projector work turntable
b:Turn the Fine-Tuning handle to make the white line on projection screen align at the arrows
c:Turn the X/Y axis handle and turntable to make the Y axis coordinated line on projector screen to Align with the stright line on grass grain rule( standard 10mm±0.005mm
D:Turn all the X/Y-Axis coordinate value on data display screen into zero
e:Turn the X/Y-axis handle to make the Y-axis coordinate line on projector screen to Align with the stright line on grass grain rule( for example: Examine three times with size at 110-120mm standard 10mm±0.005mm )read the numerical value and record after alignment
products putting :take a products with wire arranged and put it onto the working turntable
ID measurement way: when the products inner diameter shows clearly,Align the X/Y Axis coordinate line with the Inner size A side and L1 Rim line,then Zero all the X/Y axis data on display screen.
B:move the X/Y Axis control handle,make the X/Y axis coordinate line align with the B side rim of the Inner diameter,then read the numerical value,(when measure the ID and RIB size,subject one side of the coordinate line close to the press line)
WBFK/FK-324 series:bottom rabbet B side size measurement way: arrange well the products wires,Aligning the X-axis coordinate line with the B side ID Rim,then Zero the X axis data,rotate the Z axis control handle until products outer edge clearly( this size included the pig tail glue on up rabbet)then read the data,same way for bottom rabbet A side
outer whole size measurement way: when the ID show clearly,Aligning the X/Y coordinate line with the ID edge,then rotate the control handle until the full products include completely and clearly, move the X/Y axis to align with one side zenith of the periphery, Zero the X/Y data on display screen,then move the X/Y Axis align with another zenith of the periphery, and read the numerical value
Measurement way for Periphery unilateral size :a when the products ID shows clearly, align the X/Y axis with the ID rim,after get the ID size,press the 2/1 buttom,move the X/Y Axis to align with the zenith of the measurand side.then read the numerical value.
Torsion measurement way:when product’s up and bottom rabbet ID shows clearly,Make the X/Y Axis align at the inner edge of A side,L1 or B size L2,then Zero the A data on display screen
rotate Z axis control handle until it’s products up and bottom rabbet ID shows clearly,turn the fine-tuning handle to make the Y axis parallel with the B side or D side, and adjust the X axis to make the projector Y axis overlap with the B or D side.and read the angle absolute value
products torsion reference the torsion specification tablesheet.
BK-262 carina Hem width measurement way: a:face down the products up rabbet on the glass grain rule,then put the rule onto the projector turntable
Make the X axis coordinate line align at one side carina,zero the data, measure another side carina,read the numerical value,(carina hem size drawing specification:0.0860 Max)
as per clients drawing specification request: when the whole size within the 0.0860 spec.but out of the carina hem size judge as NG.
Notes:1:Must keep the it flat and even when put the coil into the worktable
Up rabbet means the one close to the pig tail glue,
bottom rabbet means the one far away the pig tail glue
The Workers need wear the finger-cot on right thumb and index finger When operation
Projector spot check two times everyday.
5: WBFK/FK-324:when measure the B side size of bottom rabbet which should include the up rabbet pig tail glue,
rotate untill the shadow completely show and measure it's peak point)
6: Appearance check and pick up the products those need to do projection,all judged by the size measurement way.
Above was may a little bit complicated,but rest assure our engineer and related workers are professional on test your products and keep the right performance and inductance etc.

If you are sourcing the suitable supplier for your high quality miniature coil/high precision coil.you can try to connect with us
Let's talk and discuss more
Tel:0086-18979987730
Mail: pxyw@geplastic1.com
ChengPin Factory.
-
Vertical APG Machine Chinese Manufacturer Customizable for Electrical Bushing Switchgear Components
-
Pengchuangxin Roll-to-Roll Fully Automatic Strip Light Production Line
-
LED Strip Light PCB Cutting Machine
-
LED Strip Light Production Line
-
APG Clamping Machine Customizable Double Station Chinese Factory 800*1000mm for Transformer Instulator With Mixers
-
Soldering Machines for LED Strip Lights
-
LED Strip Light Glue Dispensing Machine
-
LED Strip Light Reel Machine - Factory Direct Wholesale Price
-
Dc 12v Electric Solenoid Return Push Pull Linear Electromagnet Long Stroke Push-pull Type Solenoid
-
Round Tubular Electromagnet T0820 DC 3V 12V Magnetic Coil Solenoid Mini Tubular Solenoid
-
DS 0630 DC 24V 300Ma 10Mm 6N Force Open Frame Solenoid Electromagnet Push
-
ITO and FPC Bonding Machine ACF Anisotropic Conductive Adhesive Pulse Hot Press Machine Constant Temperature Hot Press Machine
-
Hot Sale DS-T1928L-01 DC 12v Push Pull Type Tubular Solenoid For Embroidery Machine
-
FERROXCUBE Material and Inventory
-
GT-YZJ203 Auto Plug Assembling Machine Chinese Factory Pin With Sealer Install Machine Terminal Pin With Sealer Machine Auto Heater Machines
-
Vacuum Tight Radiator Butterfly Valve for Power Transfromer
-
Metal Seated Radiator Butterfly Valve for Transformer WN80
-
DIN42560 FORM B FORM A Radiator Butterfly Valve for Power Transfromer
-
Mold Injection Machine Mixing Machine-made in China for for Electrical Epoxy Resin Transformer Insulator Spout Embedded Pole
-
Single Keep Solenoid Push Pull Solenoid DS-1037 24VDC Open Frame Electromagnet
-
APG Machine Epoxy Resin Transformer Make Machine for Insulator Bushig Maker
-
24v Hidden Electric Metal Cabinet Lock for Electronic Smart Lockers Lock Electronic Solenoid Parcel Locker Lock
-
Factory Supply DS-1326 DC 24v Push Pull Type Tubular Solenoid For Embroidery Machine
-
DS-1253 DC Frame Type Push Pull Solenoid Electromagnets 24v 10mm 20n Push Pull Solenoid
